How to build compensation bands that help you make consistent pay decisions

Salary bands

Compensation bands only facilitate confident pay decisions when they’re structured consistently, grounded in reliable market data, and kept up to date as your organisation grows and the market changes.

That means:

  • Ensuring your pay ranges reflect your compensation philosophy and reliable market data
  • Mapping comparable employees to the appropriate bands using consistent criteria 
  • Keeping your salary bands up-to-date as you add roles, levels, and locations and as market pay changes

Get this right, and your compensation bands give teams a consistent reference point for decisions – whether you’re setting pay for a new hire, reviewing existing employee compensation, or investigating pay differences

In this guide, we'll walk through how to build and maintain compensation bands with Ravio – from defining who each band applies to and setting market-aligned ranges to evaluating employee pay against them.

Looking for a starter guide to build salary bands? Here’s a step-by-step guide to building a best practice salary band structure.

How accurate compensation bands make pay decisions more consistent

Salary bands give you a defined framework for making compensation decisions, rather than determining pay for each employee on a case-by-case basis.

For that framework to work consistently across your organisation, your compensation bands need to use consistent criteria to determine which band applies to an employee and how much that band should pay.

So there are two parts to get right:

Who the salary band applies to. Your band structure should account for the factors that influence which employees should share a pay range – typically their scope of work or department, location, and job level.

What the salary band pays. Once you know who belongs in each band, you need to define the minimum, midpoint, and maximum for the band. This should reflect your compensation philosophy, including your target market position and expected progression, as well as reliable market benchmarks for the talent market you compete in.

Put together, this gives you a solid framework for compensation decisions: employees with comparable roles, locations, and seniority are evaluated against the appropriate pay range, while those ranges follow the same market positioning principles across your organisation.

Let’s show you how to put that structure into practice with Ravio.

How to build and maintain salary bands in Ravio: 6 steps

In Ravio, you can build (or import) your salary band structure around your existing compensation philosophy and automatically connect it to live market benchmarks, so the ranges you set reflect current market pay.

You can also keep your compensation bands up to date as you add new roles and levels, hire in new locations, and market pay changes. 

This way, your compensation bands remain reliable for making pay decisions without you having to continually rebuild and maintain your band structure manually.

Altogether, the process takes 6 steps, from defining how your bands should be structured to reviewing the final ranges before you create them. 

Here’s how: 

Step 1: Define how you’ll group your salary bands 

Begin by deciding how you want to organise your compensation bands: 

  • Company-wide bands: Build one set of salary bands for the whole company. It’s the simplest band structure but doesn’t capture market variance for compensation across departments and roles. 
  • Department-based bands: Build a different set of salary bands for different departments. For example, separate bands for software engineering and marketing. This band structure effectively captures compensation variance between job functions. 
  • Role-based bands: Build salary bands grouped by role for each job position within your company’s taxonomy. This granular band structure fully reflects variance in competitive compensation between roles – making it easy for you to make fair, competitive compensation decisions across your organisation. 

Depending on your company size, we recommend selecting between department-level and role-level approaches to building your salary bands. 

Large companies with lots of roles, for instance, may find it challenging to manage role-level pay bands and lean toward a department-level approach.

Once decided, select your preference inside Ravio. 

On the left-hand sidebar, head to Bands and select View

Then choose Auto-create bands and under Band structure, select Band groups to choose your defined band group (General, Departments, and Job position):

Building compensation bands: choose to group organisation-wide, department, or job role

Already have existing salary bands you want to upload to Ravio to evaluate your internal pay against real-time market benchmarks? 

Take the same steps as you’d when auto-creating pay bands in Ravio to upload your salary bands: click on Bands on the left sidebar, then View and select Add existing bands. 

Then, go to Band type in the same Band Structure pillar on your left and choose between Base salary or Total cash (denotes salary + variable pay) depending on how you compensate employees: 

Building compensation bands: choose whether your bands are salary only or total cash

Step 2: Apply your band locations (if applicable) 

This step determines which location’s market pay your salary bands will reflect – your employees’ locations or your company headquarters.

It comes down to the approach you take: 

  • Location-agnostic pay bases employee compensation on market benchmarks for the company’s headquarters location.
  • Location-based pay compensates employees based on their locations, so it accounts for variances in cost of living and market competitiveness.

If you take a location-based approach, you need salary bands for each key location – whether it's based on the country or city. 

To this end, in the same left sidebar, now head to Band locations under Band structure

Next, select Office, Country, or City depending on your pay strategy: 

Creating compensation bands in Ravio: choose whether to group bands by location

If employee location isn’t something your pay strategy factors in, simply select General and you’re good to go. 

Step 3: Align salary bands with your job levels

Job levels define seniority, which directly affects the appropriate pay range. 

Which means every salary band needs a level, whether you structure your bands by department or role.

So next, align your salary bands with your level framework – the seniority levels your organisation uses and the criteria that distinguish each level.

For example, within your Software Engineering band group, you might assign P1 to your entry-level band, P2 to the next band, then P3, P4, and so on.

Don’t have an existing level framework? On onboarding, Ravio’s team of data experts maps your employees to our standard level framework that you can easily adopt as your own. 

Inside Ravio, under the salary band structure you’re building, go to Band level and choose between: 

  • Multiple tracks: Separate level tracks for professionals and managers
  • Single track: One shared set of levels for professionals and managers
Building compensation bands: choose from multiple career tracks (IC vs management) or one set

This makes sure your employees at the same seniority level are mapped to the appropriate compensation range.

Step 4: Set your salary band range and midpoint

So far, you’ve defined how to group your salary bands, which location(s) they should reflect, and the job levels they cover.

This gives you a consistent structure for determining which employees should fall within the same pay range based on their role, location (if applicable), and seniority.

Next, set the actual pay range and midpoint for each band.

Start with the midpoint, which anchors the range to the market and represents the pay you target for someone who is fully proficient in the role.

For example, if your compensation philosophy targets the 50th percentile, set the midpoint at the market median for that role or department. 

You can do this under Band range in the same auto-create your salary bands workflow we’re in, and choose your target percentile to set your bands midpoint.

Building compensation bands: define the target percentile to set your band midpoint

With that done, decide the range or width of each salary band – the minimum to maximum amount that you’d pay an employee within that band for their work.

How wide this range should be depends on your level and career progression frameworks. So it reflects how much you expect an employee’s pay to progress while they remain at the same level before being promoted to the next level (and subsequently, salary band).

In the auto-create bands workflow, you’ll see this under Band range / Band width in the same left sidebar. 

Define the range (typically 15%-25%) to allow for employee progression within a band: 

Building compensation bands: define the band width

Step 5: Select market data and peer groups

The final step before you review and create your salary bands is choosing the market data you want to benchmark each salary band against.

You’ll want to be mindful of the data source – whether it reliably represents the market you’re hiring in, how much data sits behind each benchmark (and how it’s validated), and how fresh the benchmark is. 

After all, this data determines the market values you use to set your midpoint and, in turn, the salary range around it.

So in the Market Data tab, select Ravio real-time data as your source, or toggle on Custom market data if you want to upload a third-party dataset.

Building compensation bands: choose the data source to set your midpoint and width with – aligning with benchmarks

Ravio’s total compensation benchmarks come directly from HRIS integrations with 1,600+ tech companies across Europe and worldwide. 

It refreshes continuously to give you up-to-date benchmarks. 

Our data science team also validates the data monthly to identify outliers and inconsistencies, helping maintain data quality.

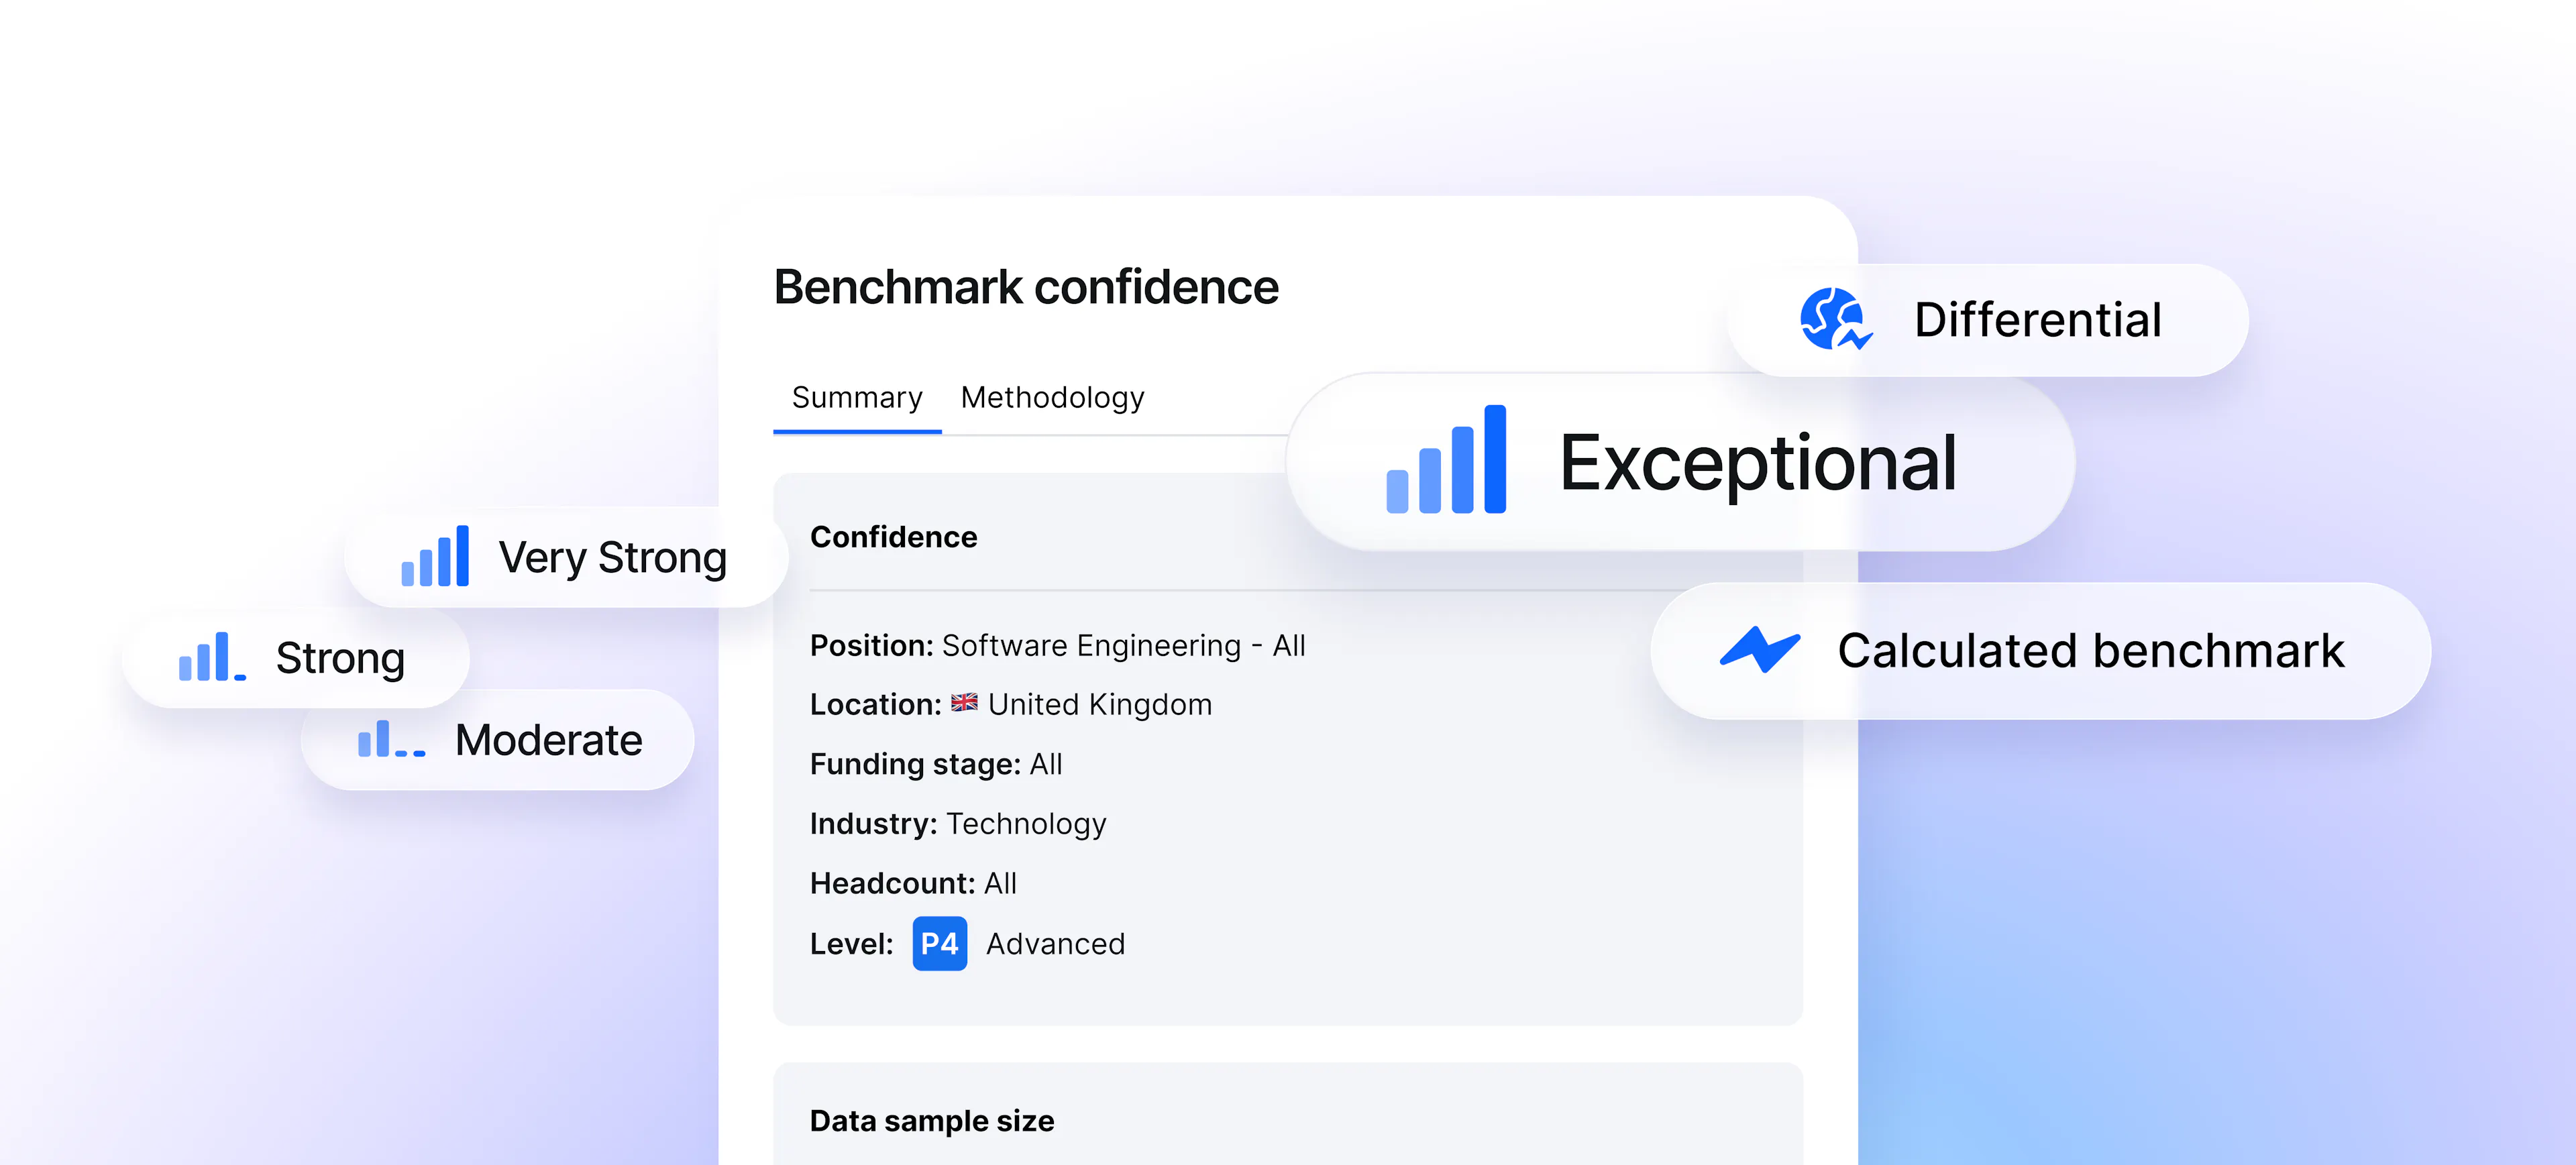
Inside Ravio, you see the confidence level for each, such as sample size details, so you know how reliable the underlying data is before using it to inform your pay decisions: 

Ravio's benchmark confidence indicators: See the sample size, confidence, and methodology for every compensation benchmark you rely on.

Then, make sure your benchmarks reflect the market you actually compete in for talent.

Under Market data / Reference market you’ll define your market segment by setting your peer group filters – such as industry, company stage, and headcount:

Building compensation bands: choose your reference market – the peer group you align with when benchmarking

Step 6: Review and create your salary bands

With your band structure, levels, locations, ranges, and market data set, review your salary bands to make sure everything is aligned with your compensation approach.

Once done, select Create bands.

From here, when you use the Add analysis tool at the top of your band view page, you can review how employees are distributed against their new bands and against the external market:

Building compensation bands: analyse employee distribution within bands, and market competitiveness

This makes it easy to identify employees who sit below, within, or above their salary range and gives you a consistent starting point for compensation decisions.

For example, if an employee sits below their band, you can investigate why and determine whether their pay needs adjusting rather than relying on individual judgement alone.

You can also compare band positioning across employee groups to spot patterns, such as one team or demographic consistently sitting lower within their ranges, that could indicate inconsistent pay practices or potential pay gaps.

Plus, it's easy to stay on top of market competitiveness and see when your bands need refreshing to keep the midpoint and range in line with your compensation philosophy and market positioning – because your bands are already built in-line with Ravio's real-time benchmarks, and market analysis is available anytime.

Compensation band management: analyse how your bands sit against your market positioning, and update based on Ravio's real-time benchmarks

Build compensation bands you can rely on for pay decisions

With the right structure in place, your compensation bands become something you and the wider organisation can actively use (with your preferred permission settings)  – not just ranges you revisit during compensation cycles.

Ravio brings your salary bands, employee data, and continuously refreshed market benchmarks together in one place. This lets you use it to: 

  • Analyse where employees sit within their ranges using metrics like compa-ratio.
  • Compare your bands against the external market to see whether your ranges remain competitive.
  • Compare ranges across roles and locations to identify inconsistencies and support internal equity.

Want to see how this could work for your organisation? 

Book a demo to learn how Ravio can help you build, maintain, and analyse your compensation bands.

Ready to ditch the spreadsheets?

Book a demo

Get the Compensation Review straight to your inbox

Your monthly dose of market insights and expert perspectives

You might also like

Businesswoman faces us, working on her laptop, in an office environment.
Salary bands

How to fix salary band outliers

Every pay equity audit should include analysing salary band outliers. Reward Leader Isha Smith explains why, as well as advising on how to address employees who are overpaid or underpaid.